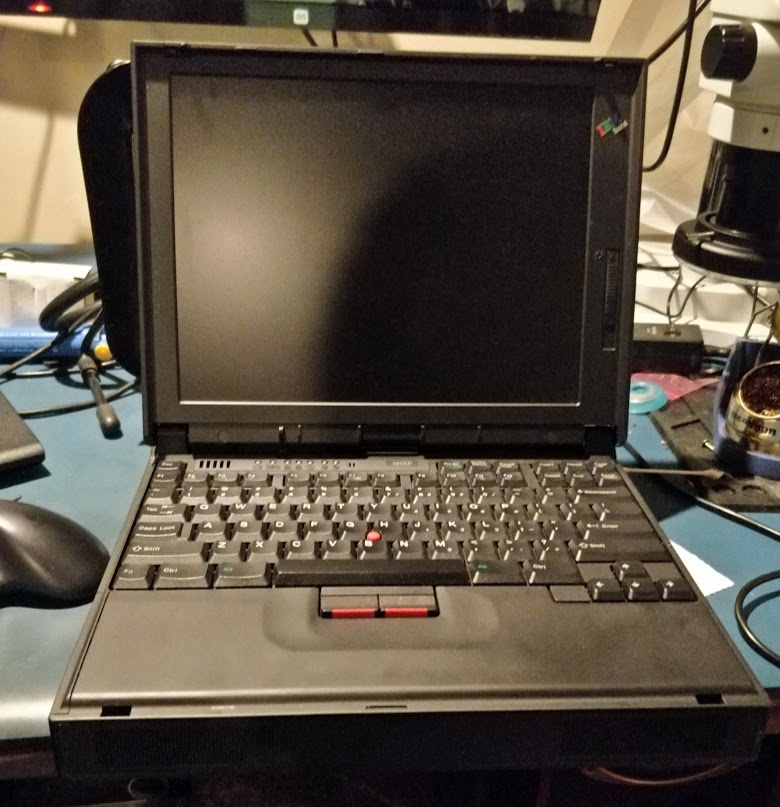
In 2019 I bought a broken IBM ThinkPad 385XD on eBay. I can’t remember exactly what was posted about it, but it looked in fairly good condition and just wouldn’t power on. I enjoy fixing old things, so I decided I would buy it and see if I could fix it.
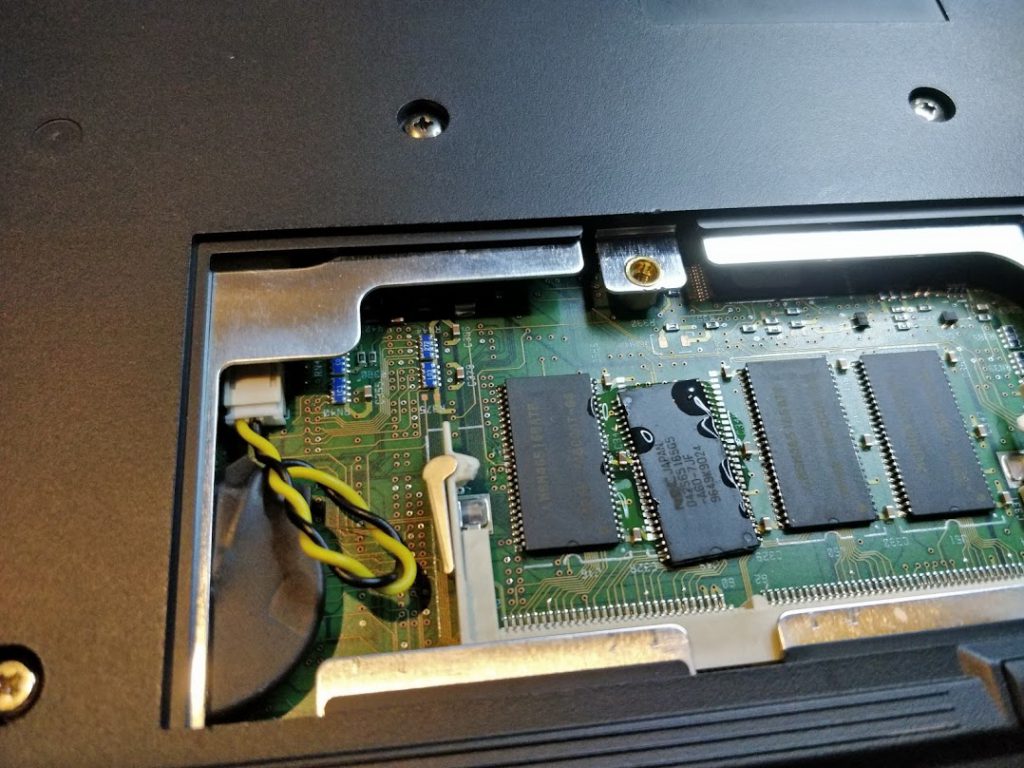
Sure enough it wouldn’t power on. I checked the usual things like power, it all seemed ok. Then I opened the RAM expansion, maybe it had no RAM?
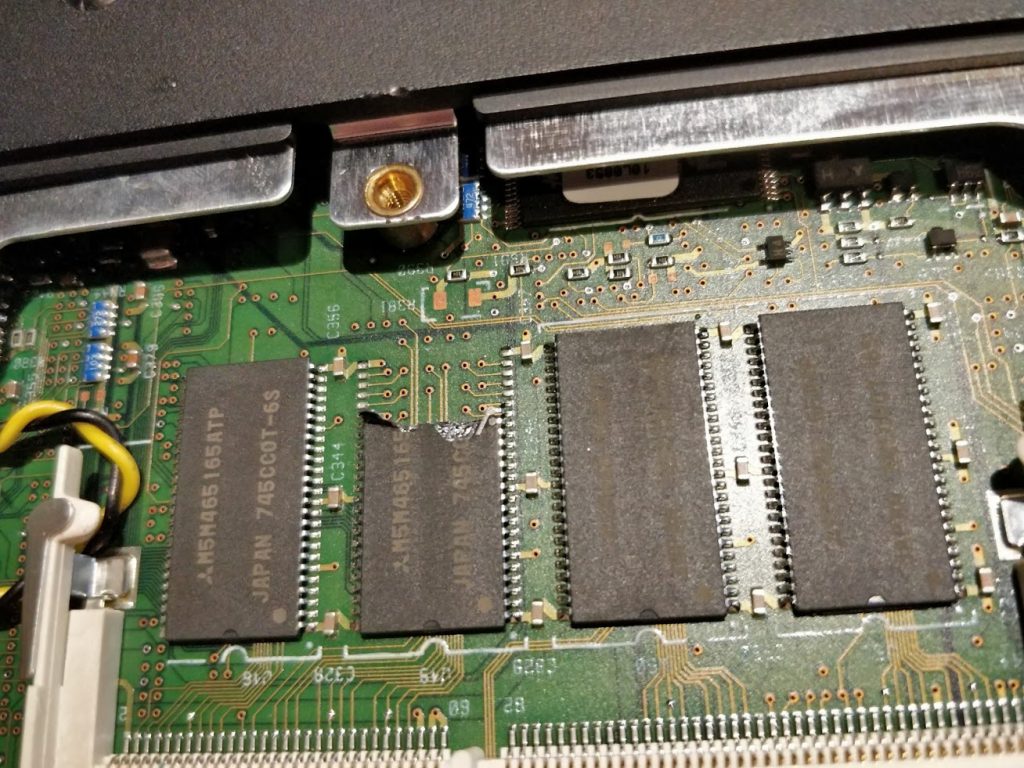
Uhh-oh… That is not good..
This model has 32MB built-in RAM and expandable to 96MB by adding a 64MB EDO SO-DIMM. So 32MB / 4 is 8MB per chip.
I looked up the part number M5M465165ATP, sure enough it is 4194304 word (16-bit), so 8MB. (Glossing over some stuff but essentially…).
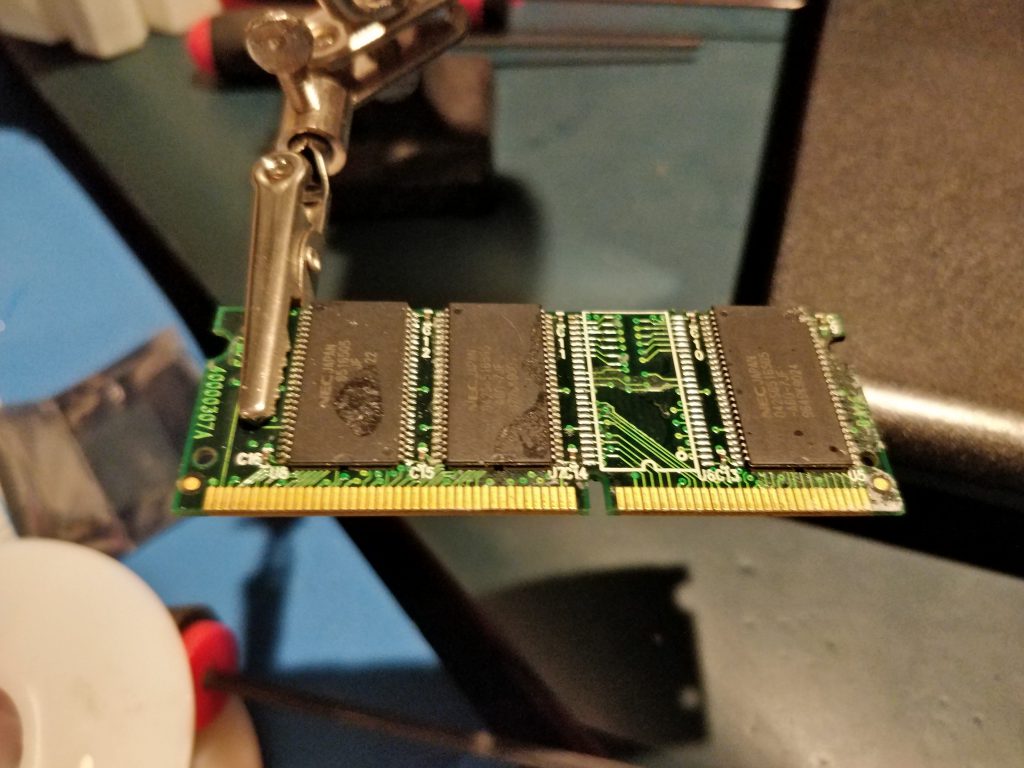
I actually happened to have a 64MB stick of RAM that would work in this laptop. I don’t have a great picture of the parts, but essentially I looked up the timing specifications of the chips and they both matched (or the SO-DIMM was rated faster).
I removed one of the chips from the 64MB donor SO-DIMM, removed what was left of the chip from the ThinkPad motherboard and soldered the replacement in.
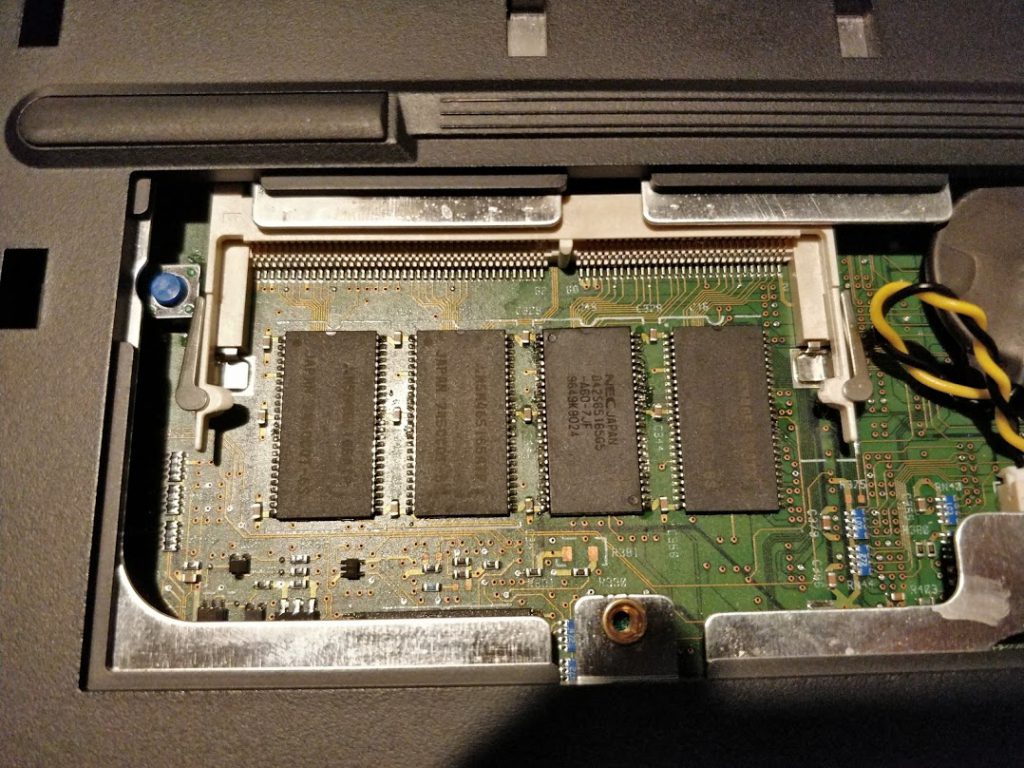
After this, I checked for any shorts but it all seemed good. I downloaded a copy of memtest86 and booted it up.

Memtest86
Success! Seems to have worked!
Now I have a broken 64MB SO-DIMM. I wondered if it would be salvageable?
When you stick one of these memory modules into the computer, how does the computer know how much RAM you just put in? In the olden days, you used to have to switch jumpers or dip switches to tell the system how much RAM to expect. Now we just plop any old stick in, and the computer automatically knows how much memory was added.
When I put this (now broken) SO-DIMM in the computer with the missing memory chip, it still read it as 64MB. It would try to do a memory test and of course, fail. I needed to research how the computer knows how much memory is supposed to be on this SO-DIMM and then change it.
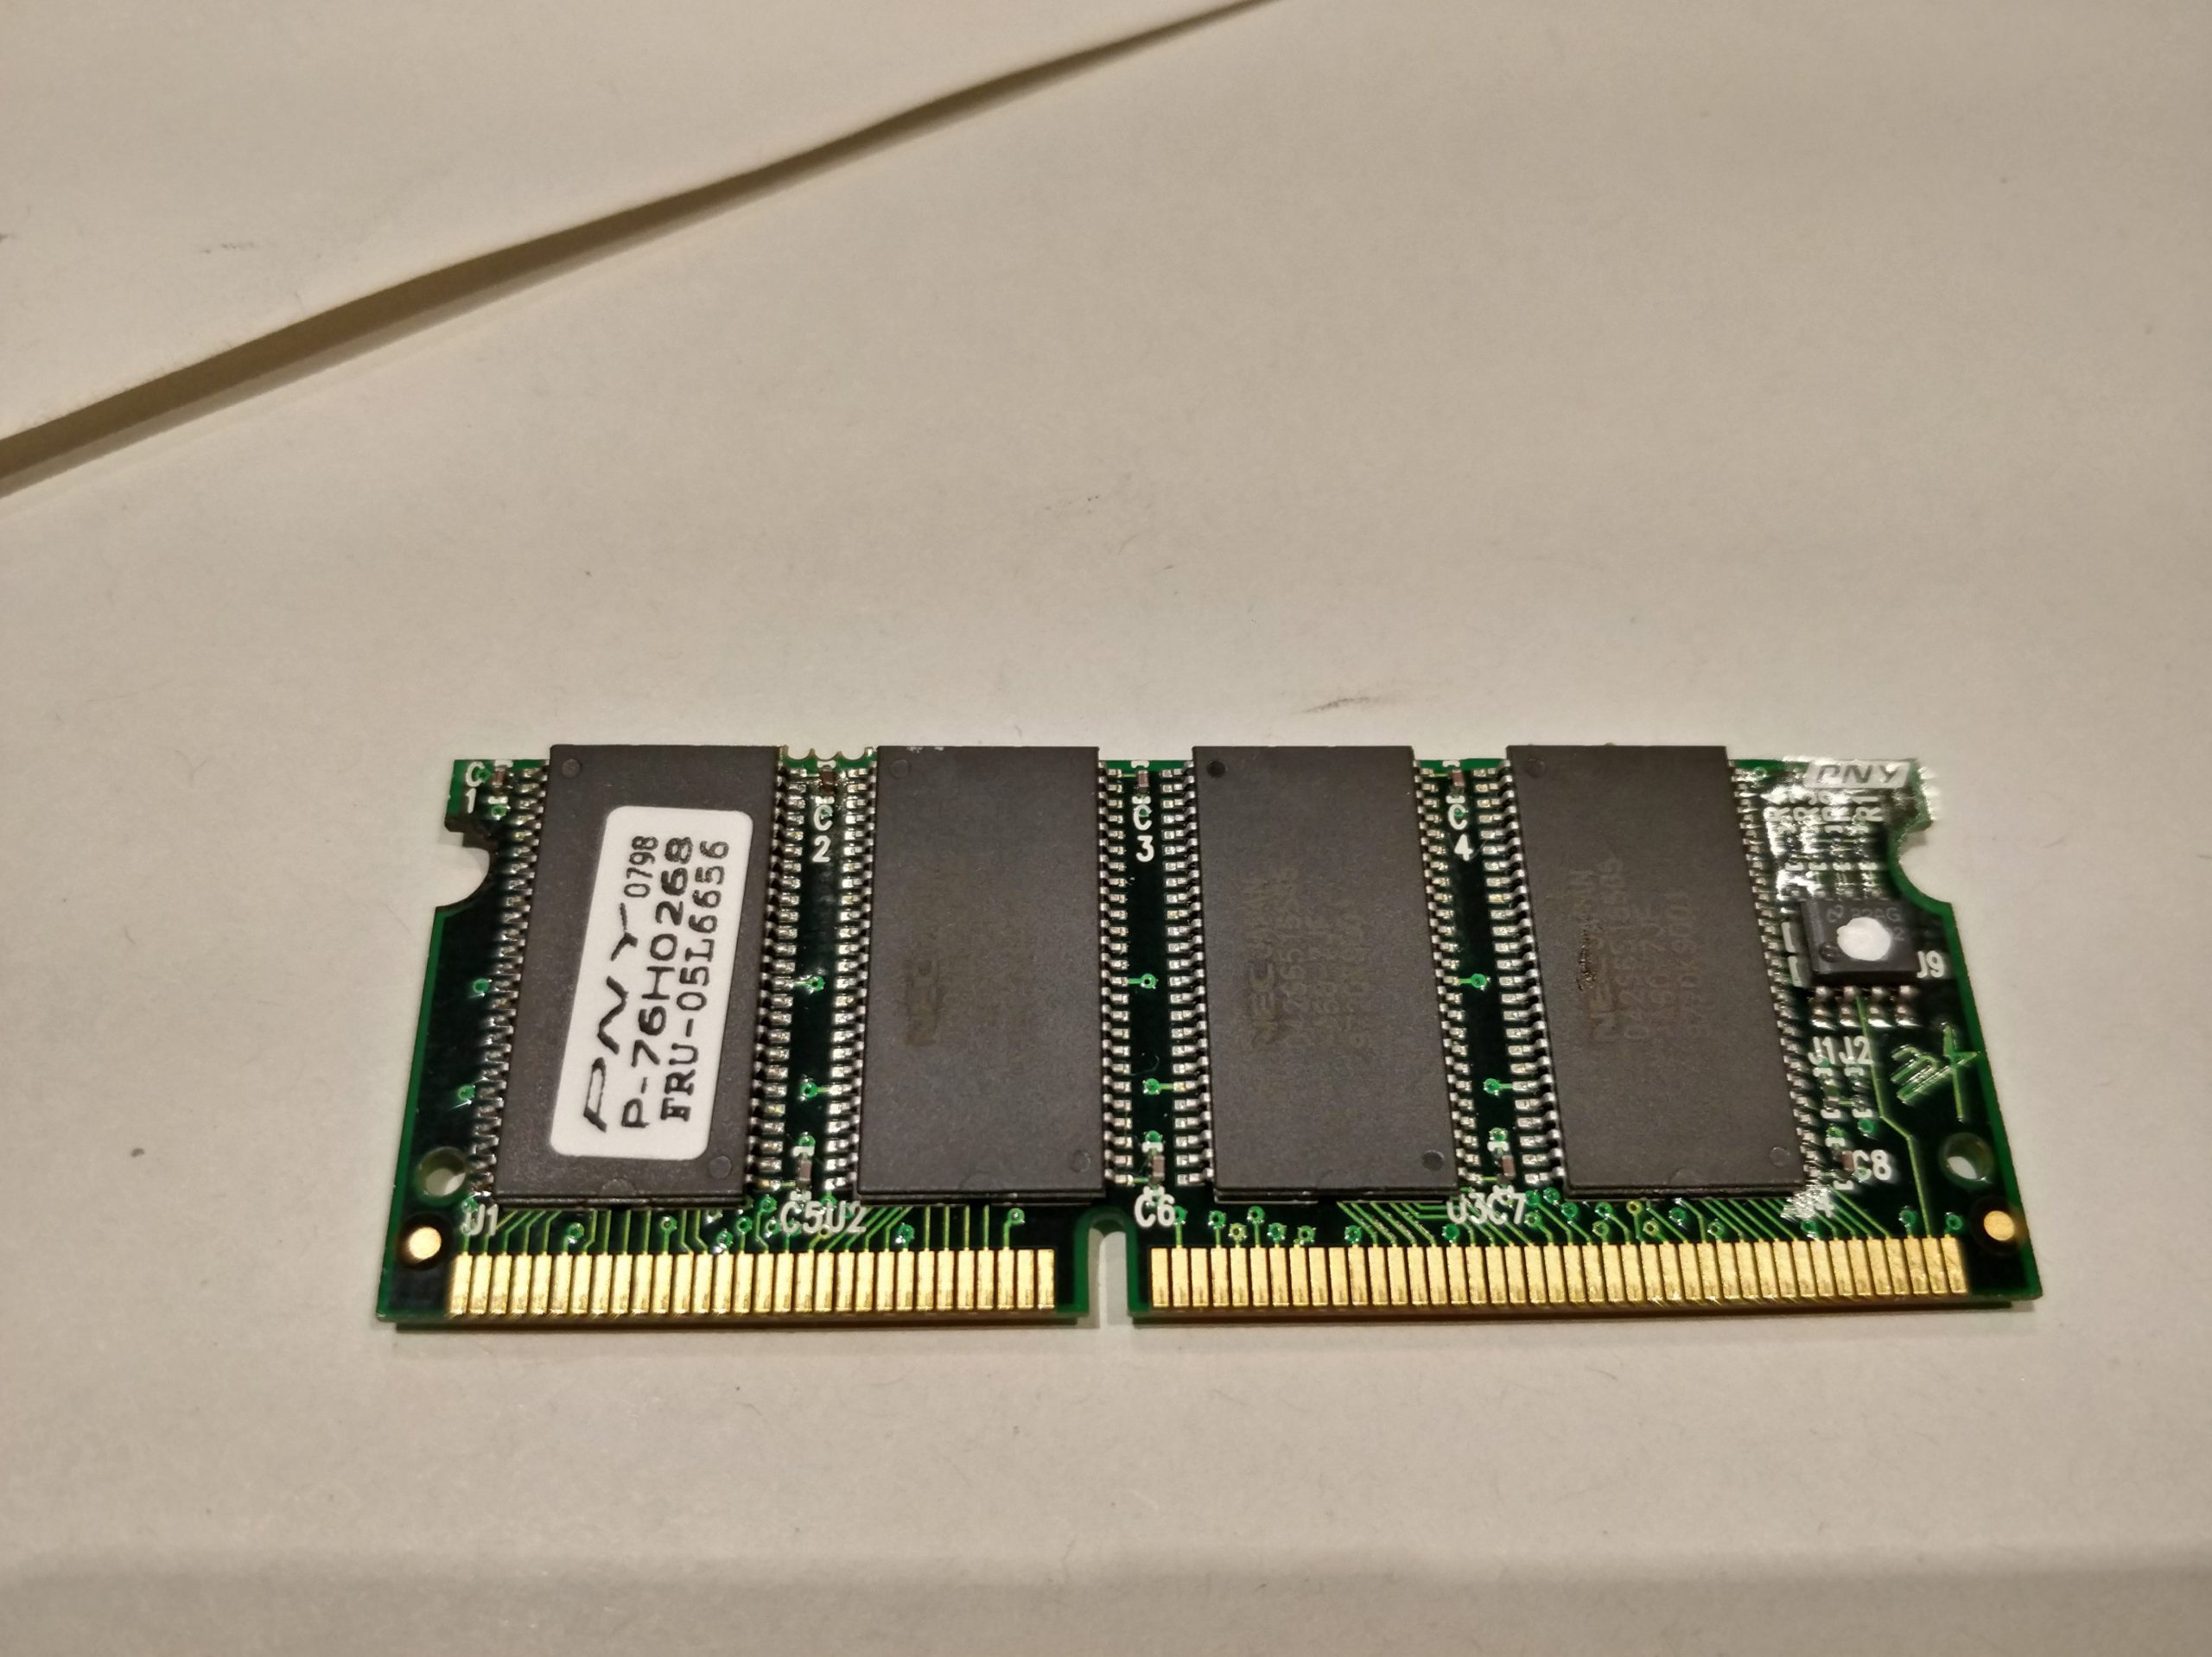
Well, on each EDO memory stick there is a small EEPROM. You can see it in the above pictures, or the one here:
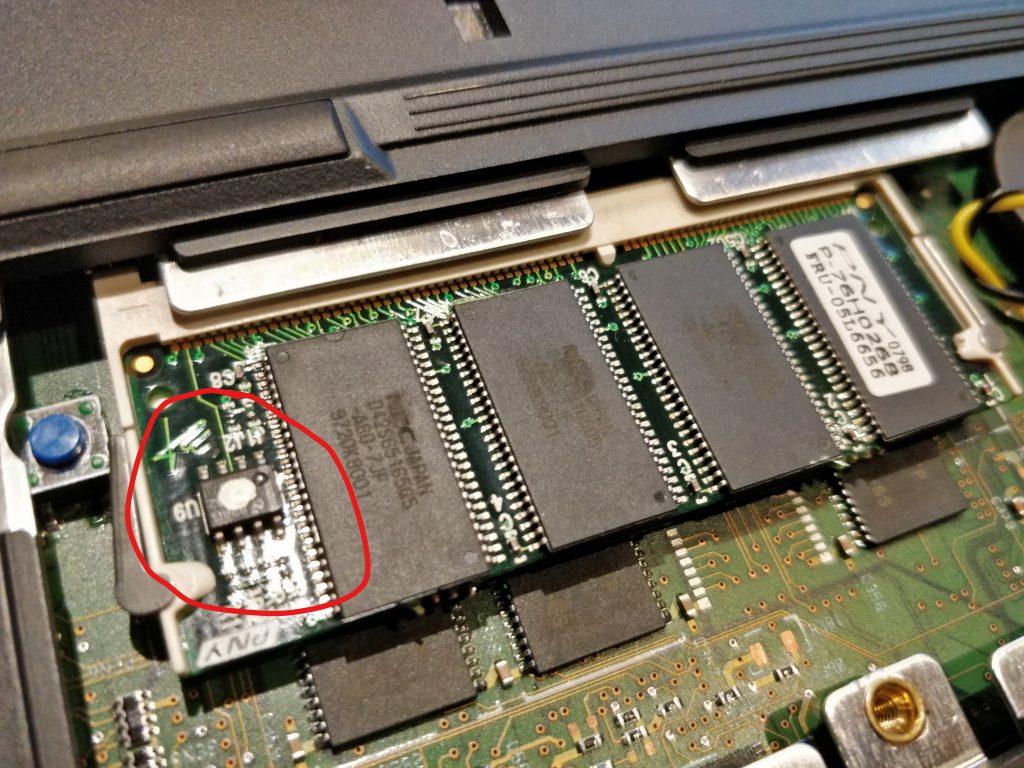
This small EEPROM is a 24C02, 2K bit or 256 Byte memory. It is actually read by the computer (BIOS?) on bootup to know exactly what this external memory is. It contains the size, configuration etc for this memory.
This is actually called Serial Presence detect (SPD): https://en.wikipedia.org/wiki/DIMM#SPD_EEPROM
Wikipedia also has an excellent article with the memory layout of the SPD EEPROM: https://en.wikipedia.org/wiki/Serial_presence_detect
Awesome… So we can read the EEPROM from my donor SO-DIMM module, change some bits so it shows up as 32MB.
Looking at the Wikipedia page for SPD contents for SDR SDRAM, we see that byte location 0x05 is where the number of banks is described. SO-DIMM’s with memory chips on both sides have two banks, single-sided are 1 bank. I read the 24C02, saw that at location 0x05 the value was 0x02 (for two banks). I just needed to change that to a 1 and it should be good.
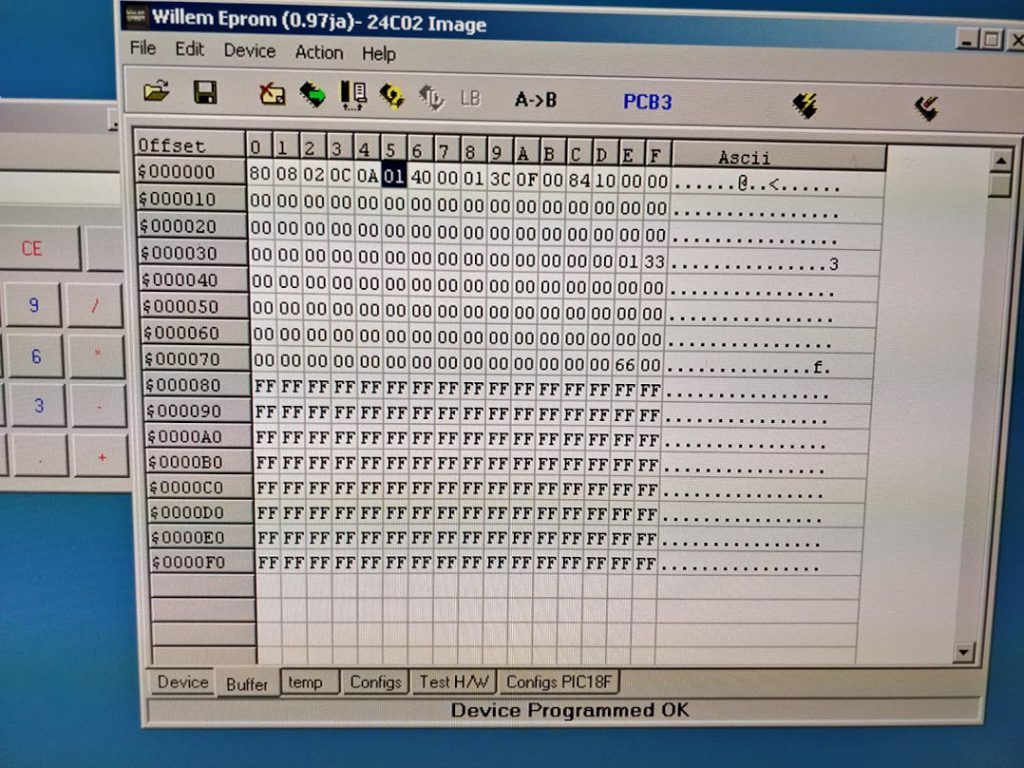
I changed location 0x05 to a 1, and voila! The system now booted with a total of 64MB RAM. It detected the SO-DIMM as an additional 32MB instead of 64.
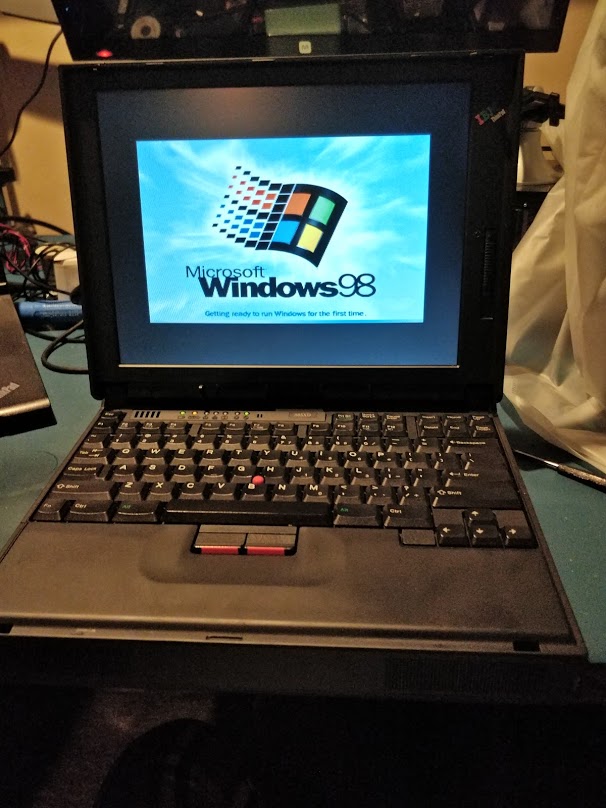
Unfortunately I didn’t take a picture of that step.. but here is one of it now booting Windows 98.